Showing posts with label DecoArt. Show all posts

Wednesday, 18 December 2013

Vintage Father Christmas...

This is one of those projects that are just great fun to make, especially at the end, working out all the different bits of ribbon and lace and wool to use!
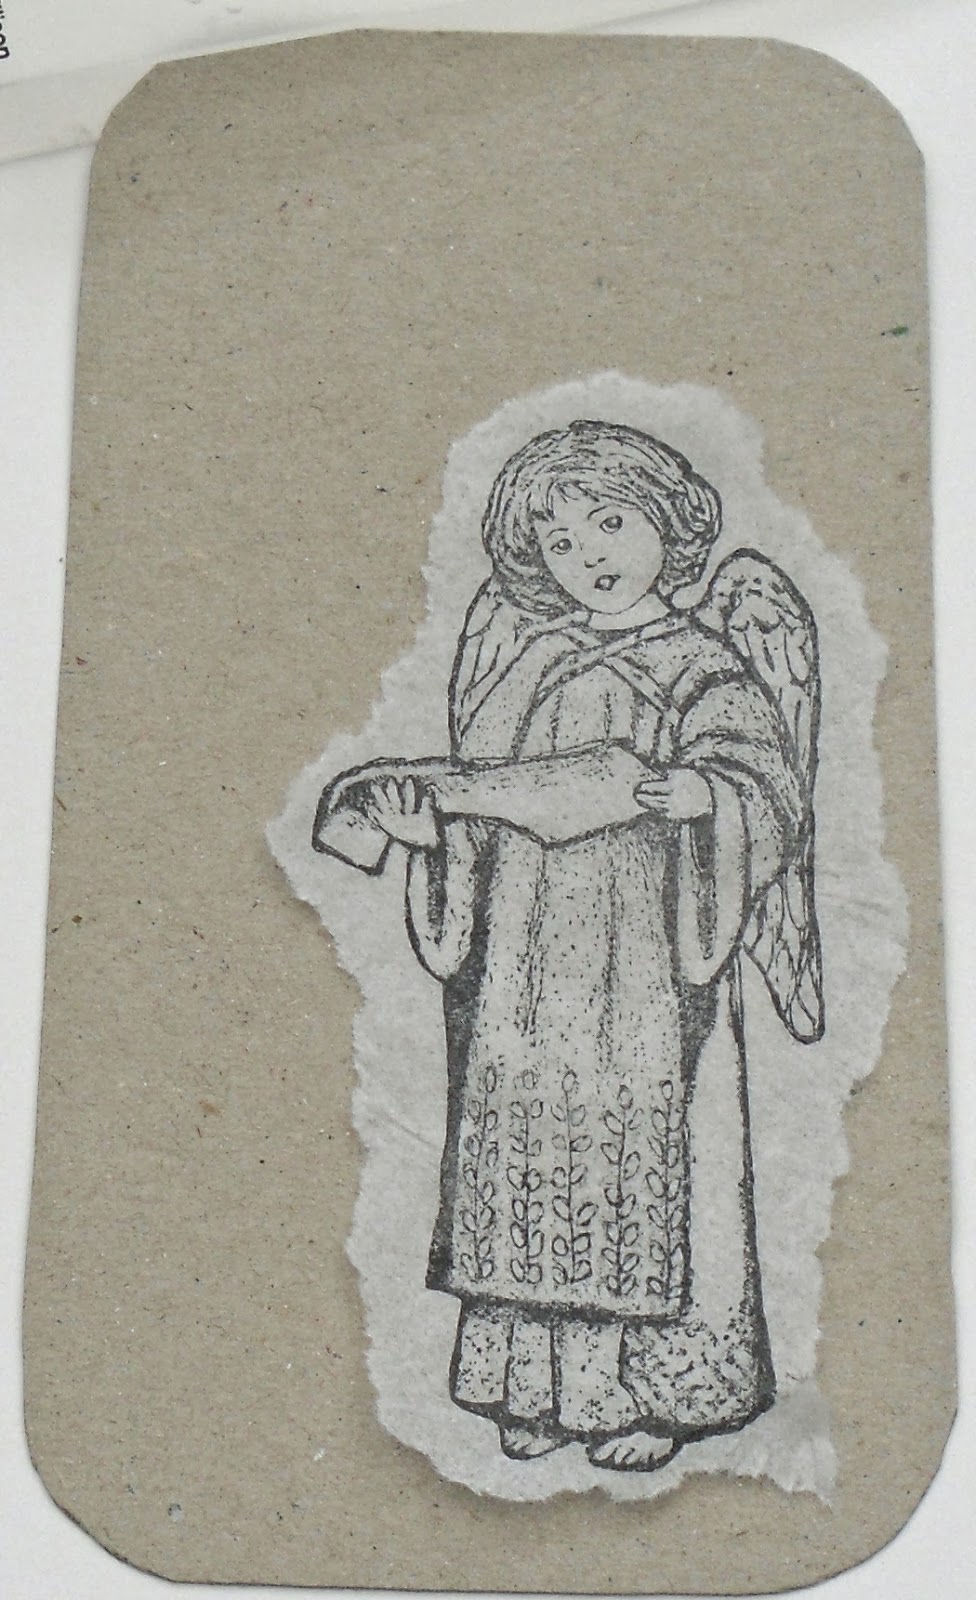
It's a fabric based stamping project and so I've used the DecoArt So-Soft fabric paints to paint in my Santa and also to stamp with. The stamp is from Crafty Individuals CI-396, a lovely traditional image.
I used StazOn to stamp it onto a piece of calico:


and then painted it with  the So-Soft paints:


It ends up like this - you can still clearly see the stamping lines, which I like:


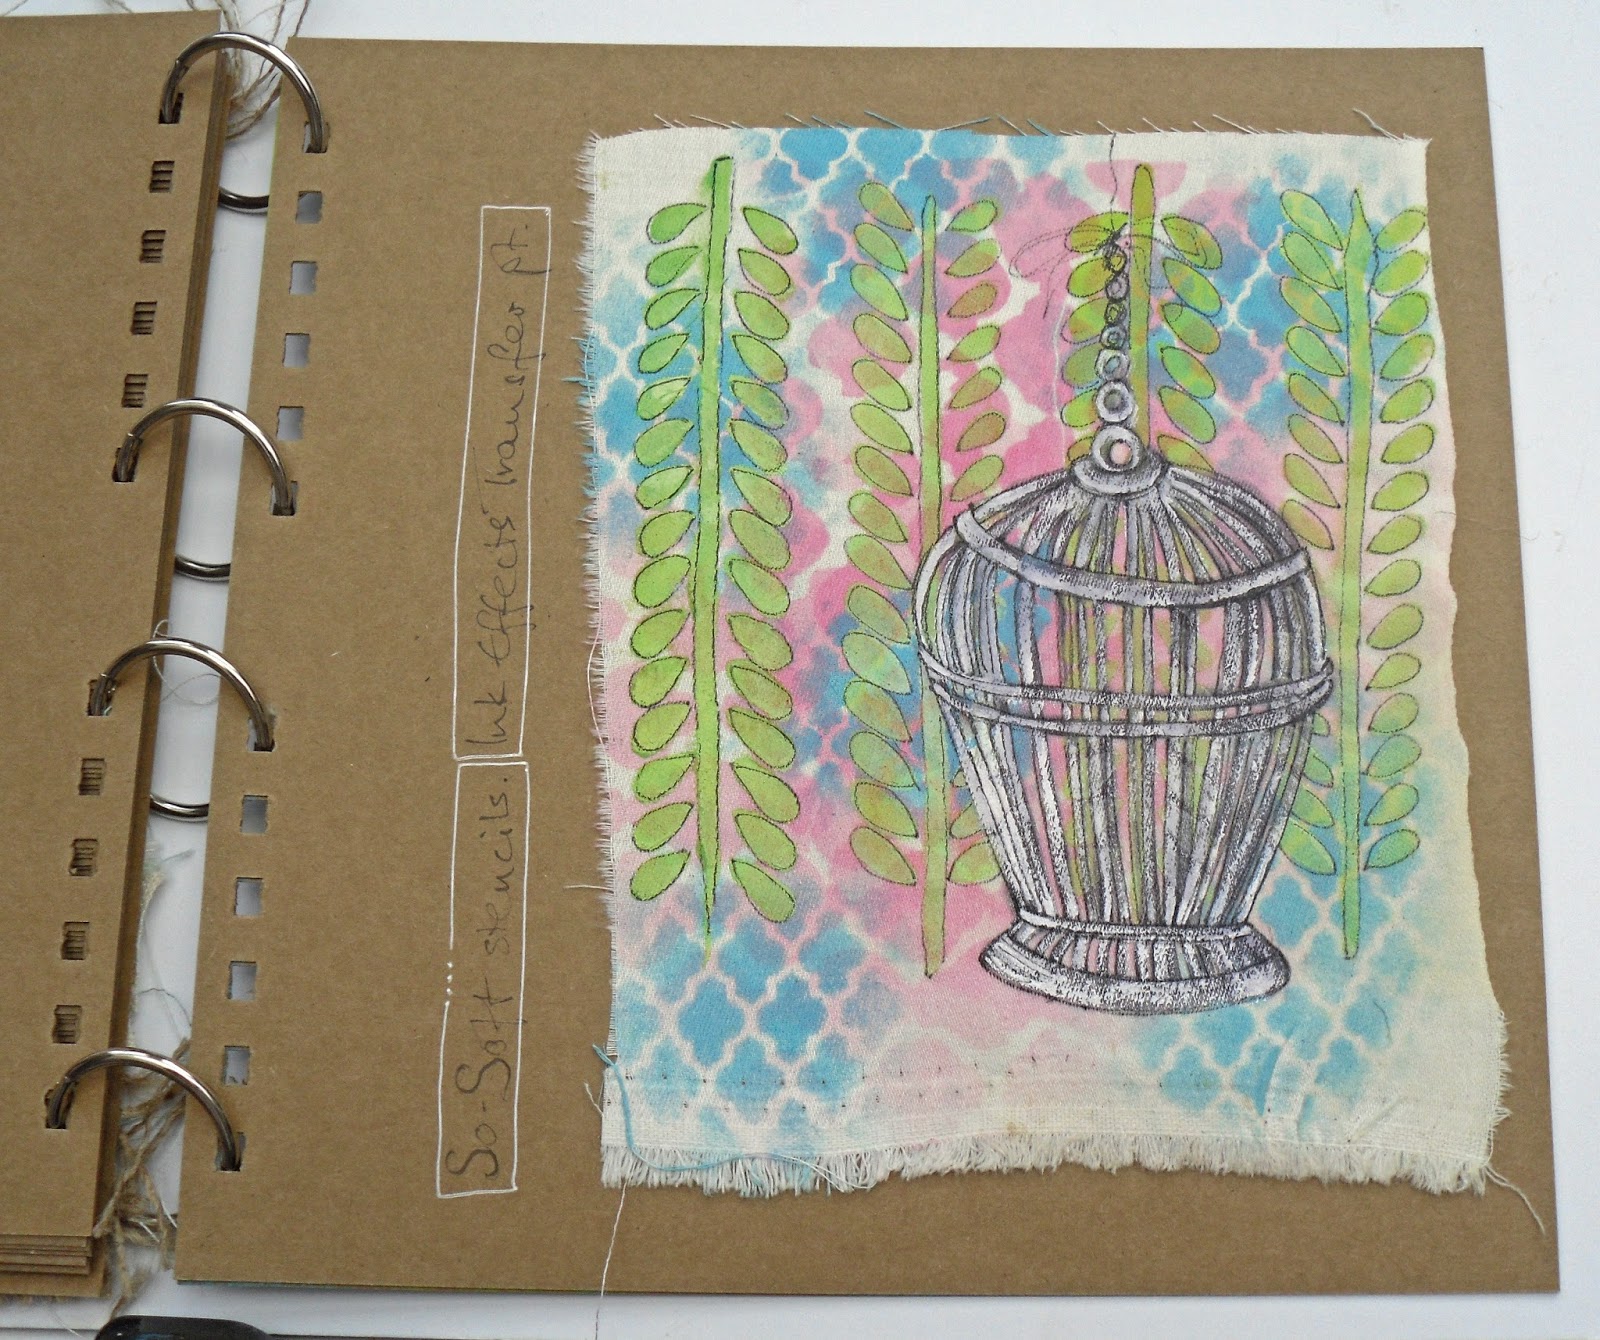
Then I put paint directly on the stamp to make a text background:


added some stars cut from CI-374 (I've used these in loads of projects!):


painted them yellow to make them stand out:


Then I took some slightly coarser weave material and stamped more stars in the paint:


and layered it all up:


Start arranging all the twiddly bits:


I then added machine stitching - nothing perfect or neat - it's just like drawing with thread:


and various embellishments:
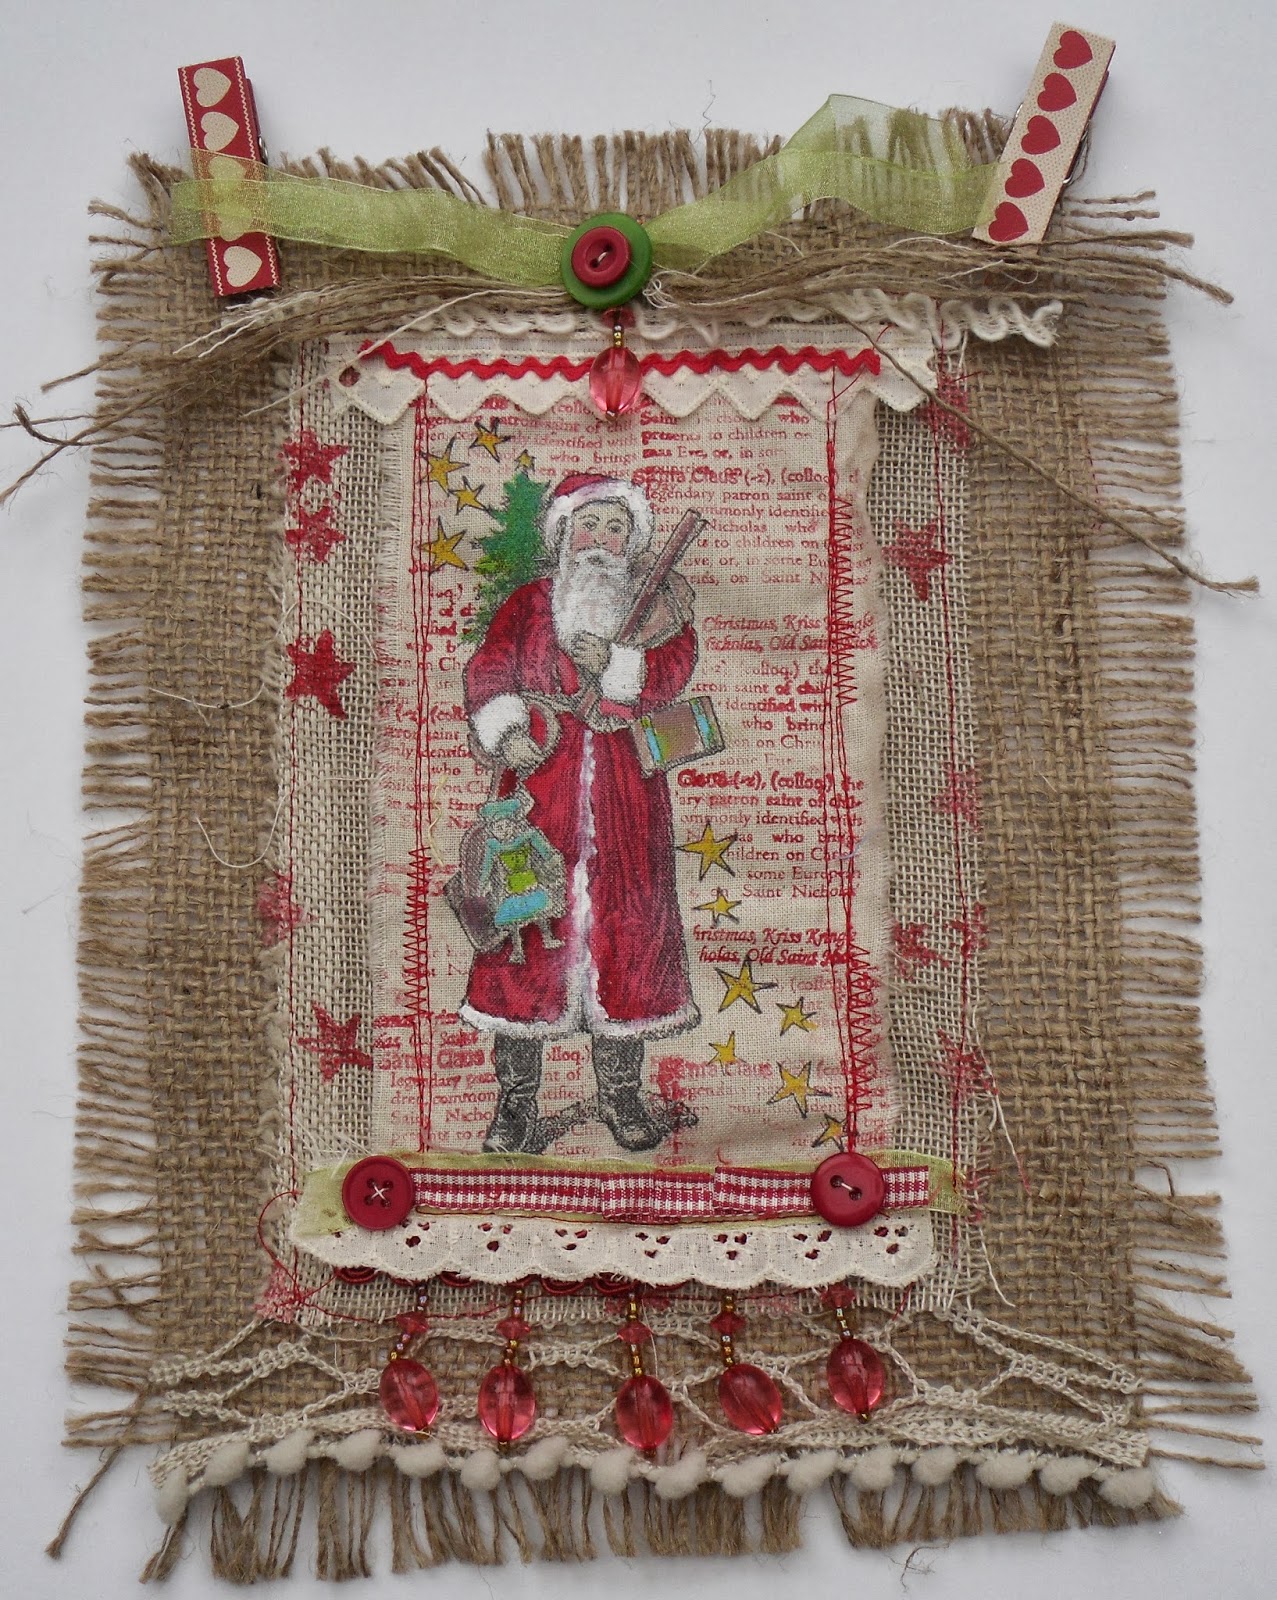


Thanks for looking!

Helen

Tuesday, 3 December 2013

Moody Blues Angel...

Here I've made a Christmas decoration to celebrate becoming a member of the DecoArt Helping Artist Programme.
The paints I've used are by DecoArt - I actually used some of the So-Soft fabric paints on the chipboard as that was what I had to hand - also tried out some of their Dazzling Metallics paint in Ice Blue, which is gorgeous!

I took my Tando Mixed Media Board (if you haven't seen these, they come in 2 different sizes) and stamped the Crafty Individuals angel from CI-396 onto white tissue paper:


Then I painted the board with So-Soft Indian Turquoise and Ocean Blue and edged it with the Ice Blue Dazzling Metallics:


Flip over the angel and paint the reverse in colour:


and then block out the whole image in White when dry:


Stick to your board with a glue/sealer:


While that's drying die cut and paint a swirl (Tim Holtz die):


I thought it was a bit plain so I then added StazOn Teal Blue stamping to the background using the music from CI-330 and the text from the angel plate.


I then wanted something a bit darker round the edges so used Midnight Blue StazOn to stamp the borders of this reindeer stamp CI-332:


I literally just inked up parts of the image and stamped away, not bothering with a block:


I also stamped the swirl:


and then it was a case of adding the twiddly bits!


Thanks for looking!

Helen

Thursday, 5 September 2013

DecoArt Fabric Book...

I've been doing quite a lot of work with the DecoArt So Soft fabric paints and Ink Effects Transfer paints recently and have ended up with lots of different bits of painted calico lying around.
In the end I decided to make them up into a sort of sample book, otherwise, knowing me, they'd disappear under the mountain of stuff in my art room!
I've stuck it all onto some 8x8 Kraft card and bound with book rings to make it easy to add more pages.
The front cover is pretty random as you can see:


Those large letters are stamped with some of the old, large foam alphabets that you used to be able to buy at a very reasonable price, all in different fonts (can't remember the brand, threw the packaging away years ago, can just see the green 'm'):


This is stencilling, stamping and painting:


Stencilling and over stencilling in white:


The background here uses an Ink Effects leaf transfer, then stencilling, then stamping (love this set) and painting:


Painting, stamping, outline transfer, stencilling:


Painting, stamping, full stamp transfer, stencilling, blobby bits!!!


Another leaf transfer, detailed stamping and painting:


Straightforward stamping:


Lots of stenilling and bottle lid stamping with a zany bird transfer on top:


Here I stencilled the background and transferred a birdcage in black. That was a bit too dark, so I added white on top:


Three leaves stencilled onto calico and cut out:


You can see from this, how versatile these paints are.
All the stamps used here are from Kaisercraft, which, along with all the paints, are from The Craft Barn.

I'm going to be demoing these again at the Craft Barn on Saturday 2 November

Friday, 16 August 2013

Stitchery...

As it's the holidays and I've got a bit more time, I've been having another play with my Ink Effects Transfer Paints by DecoArt.
These paints are so easy to use!
Paint your design on some copy paper (the colour of the ink is slightly different on paper to when it's transferred - you go by the colour on the lid):


Let it dry for about 45 minutes and then iron it onto material:


which I made up into a cushion:


Because I wanted a fairly sketchy look, the painting doesn't have to be perfect - I've gone round the design and added extra details with a permanent black pen. I've also added sketched leaves to finish it off (not pea pods as my OH said!). 
The cushion itself is a very basic envelope design, and when I say basic, I mean basic - no zips, no buttons, no frills! 
I transferred the images onto one piece of material, cut round close to the edge and then Bondawebbed and stitched it on. If your design goes wrong, you haven't then wasted a whole cushion cover!

Thanks for looking!

Helen