Saturday 31 August 2013

How did those meadows grow?

Well, having built up all my Crafty Individuals meadows, I finally managed to finish them off today. I find this sort of card quite tricky as you don't want to cover up too much of the stamping, yet I wanted to do something!
Here's how they ended up.
The blue card:


ended up like this:


For this card:


I went for a more Autumnal feel:


This one:


I put on green scrapbooking paper. (Wasn't planning on green but it seemed to work):


And finally, the swooshy one:


went onto some bluey/purple stamped scrapbook paper:


It started off with a single delicate border, then I decided to add some more (you know me!), I stamped in the wrong place so made it a lot more random! That'll teach me!

So in the end,  four very different meadows grew! Just as well we're not talking about real gardening here, as they'd have all died aff!

Thanks for looking!

Helen


Friday 30 August 2013

Down by the Sea...

Here are a couple more decorated rocks with a seaside theme:


All stamps are by Crafty Individuals.

Thanks for looking!

Helen

Monday 26 August 2013

Meadow Grasses still growing!

Here I've looked at different ways of using the meadow scene with the Crafty Individuals set CI-395.
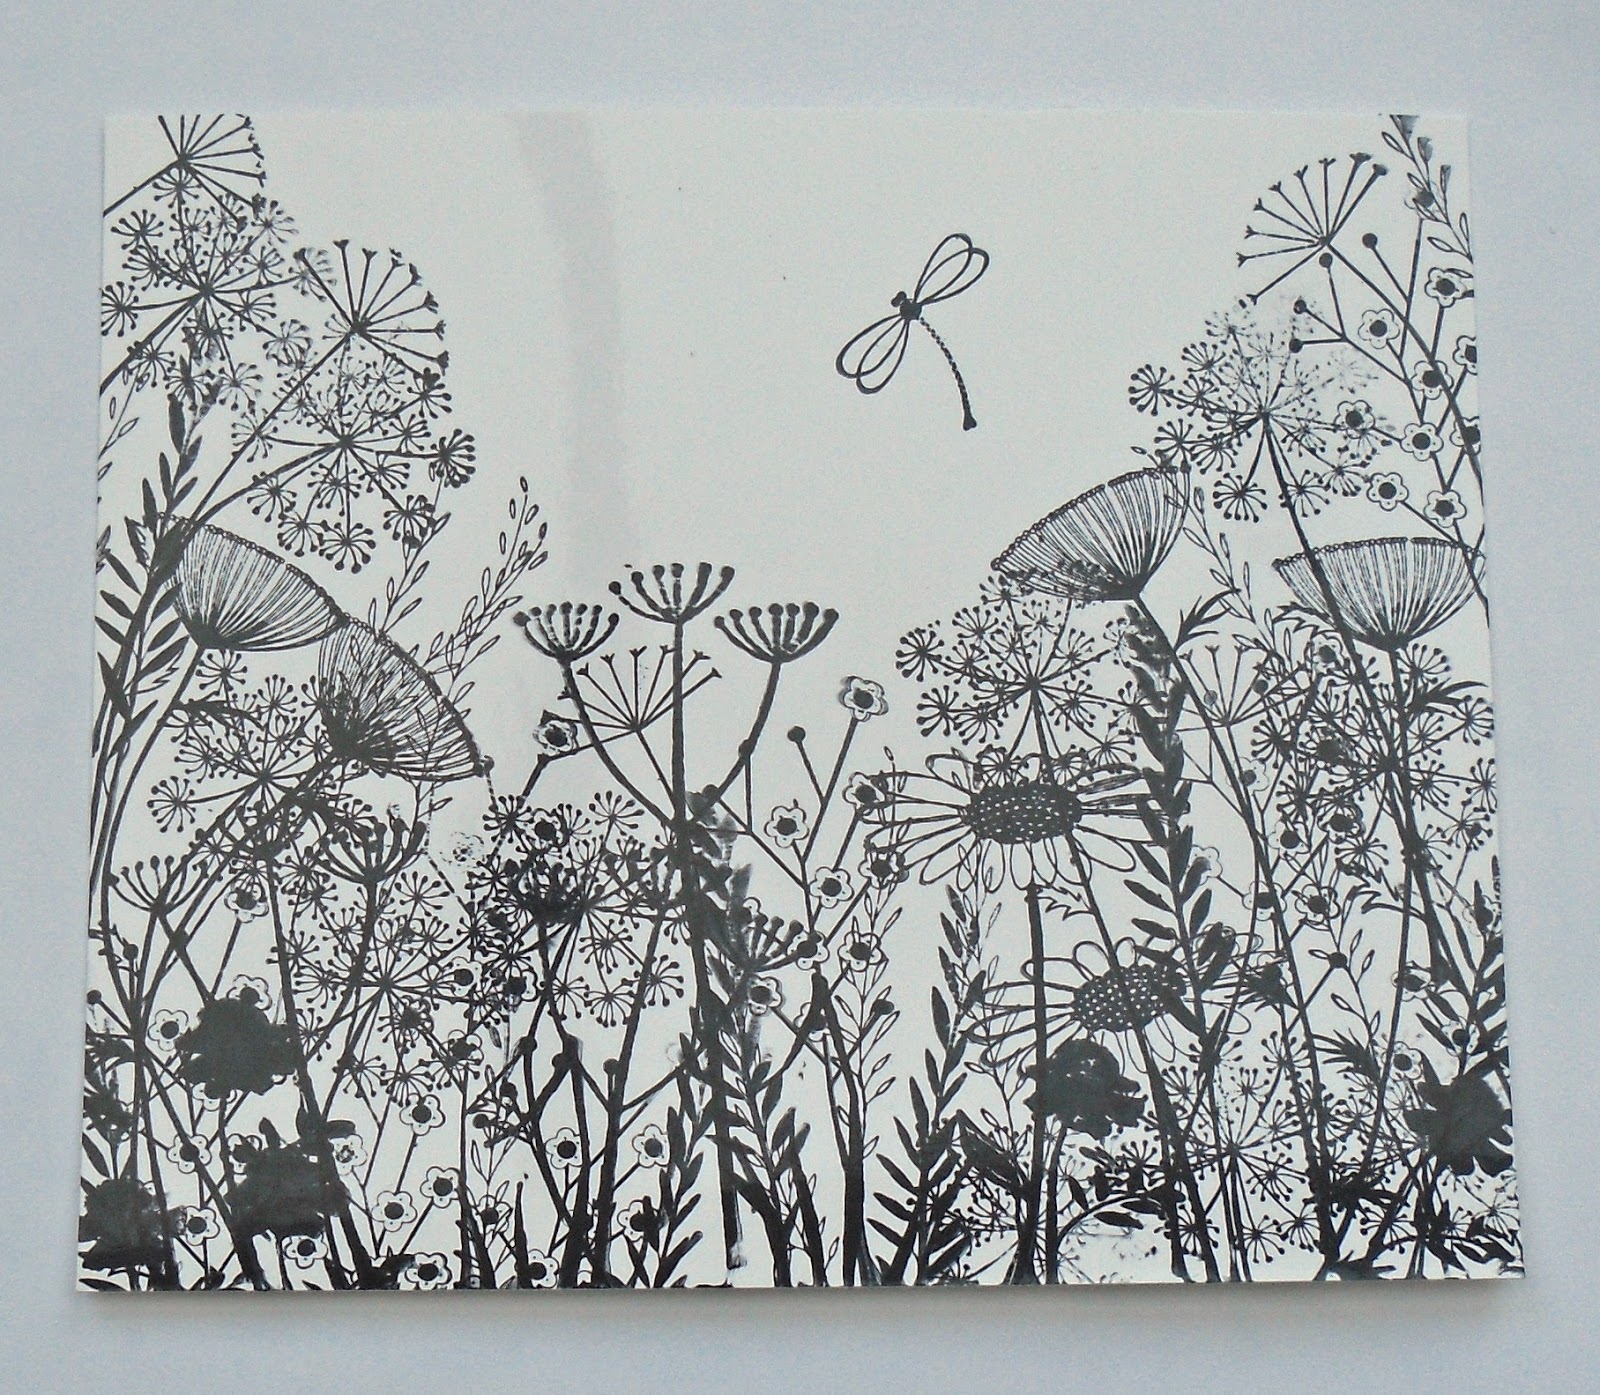
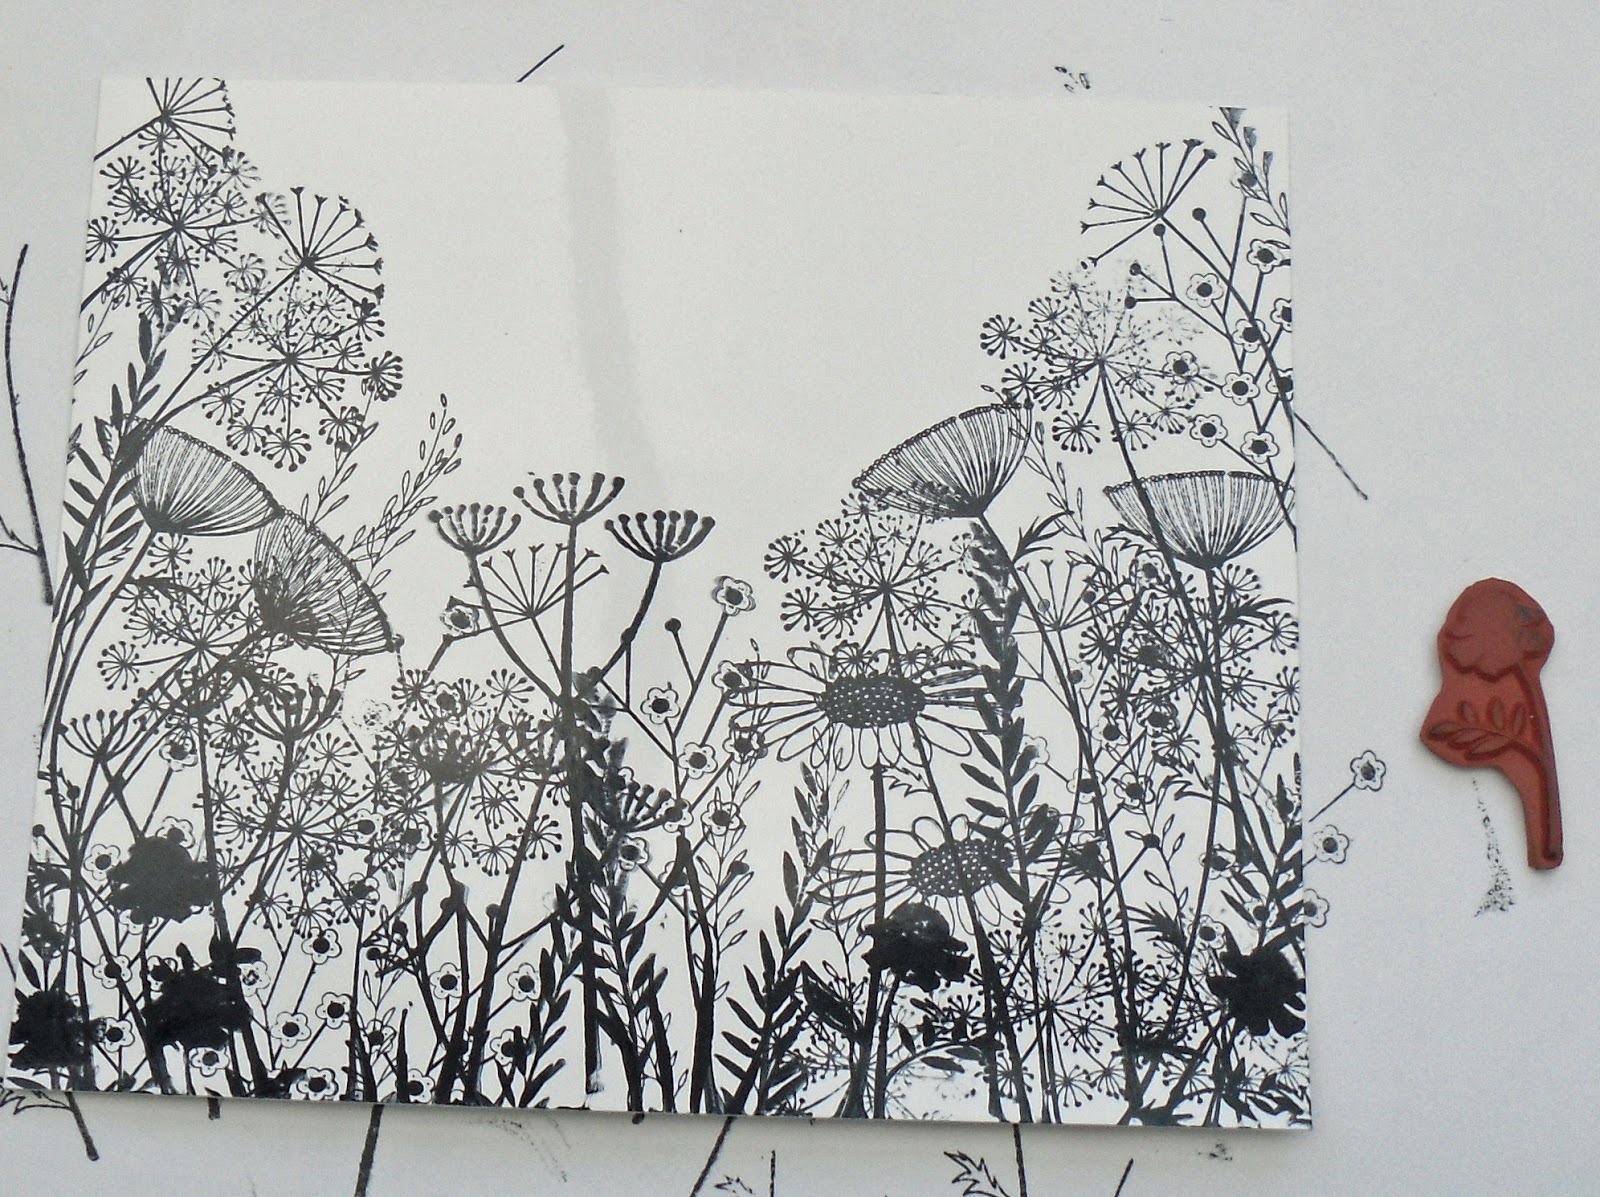
First up I've stamped as before in black onto glossy cardstock:


Then I've started colouring in with Distress Markers:


Until it looks like this:


Looking at it, I wish I'd used Squeezed Lemonade to colour in the seed heads as that's a more lemony yellow, but, that's just me!

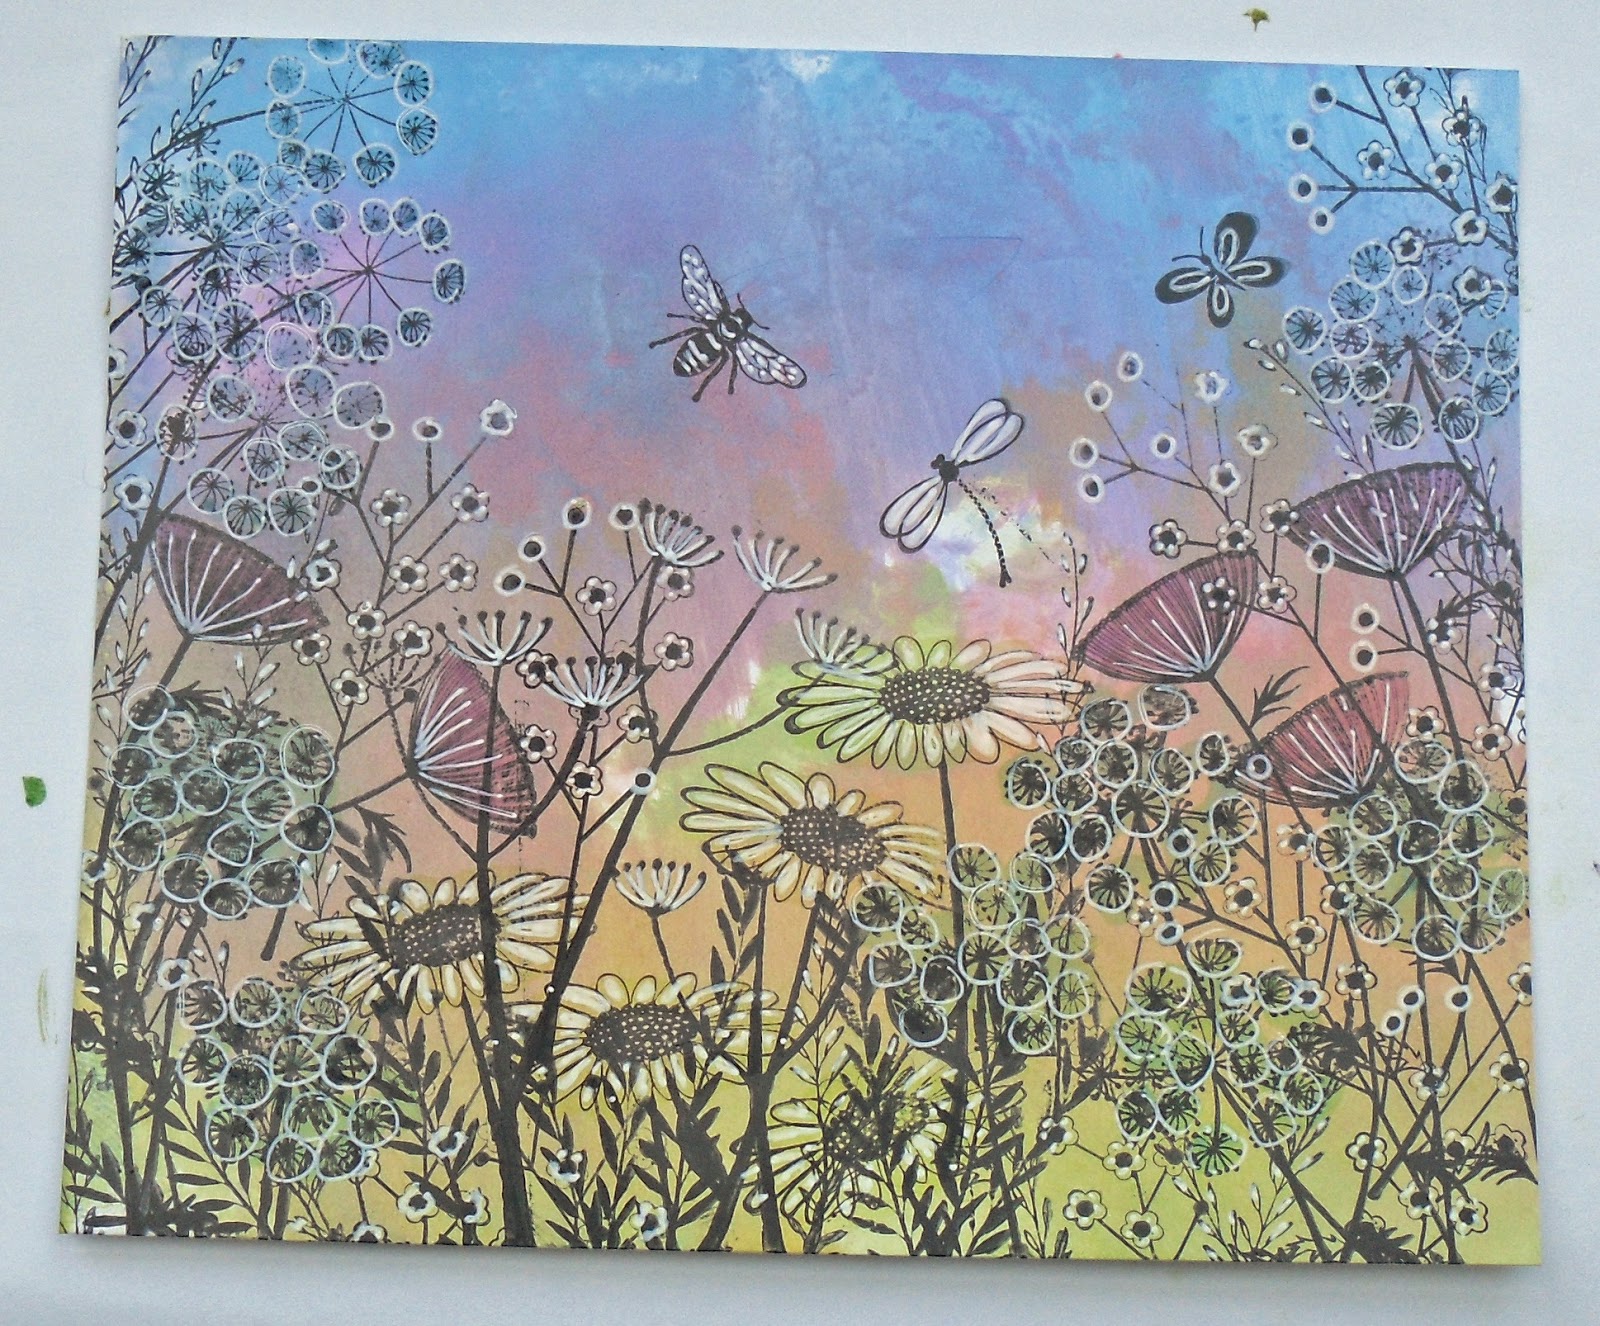
Next I fished out a piece of swooshed glossy card from my scrap background drawer (this has used KaleidaColor Bouquet inkpad, I think):


I've stamped up my meadow:


Added extra colour:


And then highlighted in white:


For this next one I stamped a meadow in lots of shades of blue and green Distress inkpads , working from the lighter colours in the background to the darker colours in the foreground:


Then I added some black stamping in front:


Then, 'cos I'd blobbed at the top of the card, I thought I'd hide it by colouring over with corresponding Distress Markers:


This was one of those "ooh dear, what did I do that for moments?!", but you know I can never leave things well alone! In the end I decided it worked okay.
And last of all, I stamped the meadow in lots of different colours:


And then added my own doodling in black:


So there you have it - lots of different ways to stamp a meadow. Haven't made them into cards yet - knowing me, I'll have lost them before I get around to it!!!

Thanks for looking!

Helen

Sunday 25 August 2013

Meadow Grasses...

Among the new stamps from Crafty Individuals I was really pleased to see the Elements set CI-395 called 'Build a Meadow' :
          Crafty Individuals CI-395 - 'Build a Meadow' Art Rubber Stamps, 137mm x 96mm
It's got a great mixture of tall and short plants, solid images, open images. You can also bend the stalks on your block to get them facing both ways.
Having these as individual stamps means you can do just as the title suggests, build a meadow, which happens to be something I love doing.
Here's how I stamp my meadow, using glossy card and StazOn Jet Black.
First stamp tallish plants to frame the picture:


Add a couple of open daisies:


Balance out on the left with some nice silhouette plants:


Add these delicate, open flowers (some of my favourites) and start to build up the side:


Next add a tall, solid leaf - a good filler:


Then this open flower seed head, again bending both ways on block and climbing the sides:


Then the open grass stalk in the background:


Add a couple of these line drawn flowers:


Finish the meadow with some solid flowers towards the bottom:


And then add your focal point in the sky:


And there you go! You can build up as much depth as you want! It doesn't matter if some of the stalks don't reach the ground as by the time you've finished, you won't notice.
In my next post I'll show you different ways I've used this technique.

Thanks for looking!

Helen

Monday 19 August 2013

And, on the other side...

I've done something completely different!
The new stamps arrived in the post on Saturday, so I thought I'd use one of them - CI-392. Who couldn't love that punky baby penguin?:


Here's the back of the canvas, painted (although as it turned out I didn't need to paint it as I covered it with paper - just goes to show I had no idea what I was going to make when I started this!):


The paper is from the 7 Dots Studio 9th Wave Collection. I just followed the pattern and tore wave borders:


and then added a sort of beachy paper round the top:


Sponge on a bit of extra yellow with Scattered Straw:


and then add more stamping with a Scattered Straw Distress Marker and a text stamp from CI-278:


Use the same set and starfish from CI-272 to stamp round edge in black:


Stamp, colour and cut out your penguins:


Stick them to the canvas:


and then get splatting with white paint (you didn't think you were going to get away without something messy, did you?!):


And, hey presto, there you are:


You could add little embellies at this point, but I decided to leave it as is!

And for those who can't remember, this is what the other side looked like:


Completely different!

Thanks for looking!

Helen

PS Please note: I managed not to get any of the splats on the birdie side - quite impressive for me as usually paint goes everywhere!

Saturday 17 August 2013

The Birds are a Twittering! And new stamp alert!

Well, on my canvas anyway!
This started out as a 5x7 canvas sprayed with lovely, bright Dylusions inks. I then looked at it and thought "what shall I do now?!"

Well, I knocked it back a bit with some gesso as I'd blobbed some ink where I didn't want it, and then got out the PaperArtsy Fresco paints and some stencils and started building up layers.

The birdie collage is built up using CI-387 with the clock and bird from CI-389 tucked behind and a birdcage from CI-329:


The collage is built up on tissue paper and then painted in colour on the back. I didn't block it out with white this time so when I glued it to the canvas with PaperArtsy Satin Glaze, it seemed to reactivate the spray inks and bring the colour up again.
Then I added more stencilling in  Claret Fresco paint to see what it would look like:


and then in Mermaid Fresco paint to add a matte, lighter colour:


Finally I painted in some highlights to make the collage stand out:


I didn't add any embellies as I thought there was enough going on already!
Now I'm thinking about decorating the back:


Perhaps I'll use some of the new stamps that Crafty Individuals have just released. Just look at these:

      Crafty Individuals CI-393 - 'Oriental Fans' Art Rubber Stamp, 100mm x 84mm   Crafty Individuals CI-394 - 'No Guarantee without the Stamp' Art Rubber Stamp, 137mm x 96mm    Crafty Individuals CI-395 - 'Build a Meadow' Art Rubber Stamps, 137mm x 96mm
                Crafty Individuals CI-397 - 'Call of the Sea' Art Rubber Stamps, 137mm x 96mm Crafty Individuals CI-396 - 'Santa's Legend' Art Rubber Stamps, 96mm x 137mm     Crafty Individuals CI-392 - '2 Penguins' Art Rubber Stamps, 85mm x 90mm

Thanks for looking!

Helen