Wednesday 27 April 2016

Clay, hot glue, Mod Podge melt and moulds....

Having a lovely play day with all of the above this Saturday at The Craft Barn.
In the morning we'll be trying out all the moulds and stamping into clay and using embossing folders and then in the afternoon you can use what you've made to decorate a lovely watercolour sketchbook:


So if you fancy having a go, just follow the link at the top.

Thanks for looking!

Helen


Sunday 17 April 2016

The finished article....

As I've been talking about Infusions all week, I just thought I'd show you a piece of art that I made using them:

This uses the Infusions on Yupo paper which produces a softer effect than on matte card because it's not porous. I've stencilled and stamped (Everything Art plate 01), blotting as I went. The flowers are die cut out of 'Infusion-ed' vellum, with touches of White Fire Treasure Gold added.


I'm going to be doing a class with Infusions on May 18th at The Craft Barn, so if you want to come and play just contact them. You'll be able to try out all the colours (I've only used three of them as at the mo that's all I've got!) and lots of techniques.

Thanks for looking!

Helen

Saturday 16 April 2016

Grunge Paste and Infusions.....

Yes, you can colour your Grunge Paste with your Infusions with interesting results.
Just mix some of the powder into the Grunge Paste and then stencil with it.


This is Sunset Beach that I'm using:


Or you can try this : Alison Hall was demoing this technique at Ally Pally last week. She was using a different medium but I thought it would work well with GP and it does, so thanks Alison.
Sprinkle some Infusions onto card and place stencil over top:


Then scrape through the Grunge Paste picking up the powder as you go:


It gives a lovely variegated effect:


You can also try this: Grunge Paste your stencil as normal and let dry. Replace the stencil over the top and sprinkle on some Infusions: 


Then spritz:


You get a bit of a messy result but interesting texture. You could then colour the background with the Infusions or cut out the stencilled flower to disguise the messy bits:


If you blot it before removing the stencil it's a bit more controlled: 


You could also use a wet brush to activate the powder and paint your Grunge Paste. Let the paste dry, replace the stencil and shake over some Infusions:


then paint over with a brush:


You can be a bit more careful than I was - you should be able to paint without any blobs round the edges ( I was standing up behind the tripod at the time!)

So there we go - Grunge Paste and Infusions.

Thanks for looking!

Helen


Friday 15 April 2016

More stencilling....................

This is another way you can stencil with the Infusions which gives quite a controlled effect.
Using matte card, lay down the stencil (by Imaginations Crafts) and sprinkle over colour:


Then dry rub the colour through the stencil:


Spray through the stencil:


You get quite accurate stencilling with a lovely build up of darker colour round the edge:


Alternatively you can rub over the dry powder with a baby wipe:


and you'll get a slightly less intense and equally accurate (especially if you take your time which I didn't!) stencilled effect:


Thanks for looking!

Helen

Thursday 14 April 2016

Stencilling with Infusions....

They're quite easy to stencil with - you can sprinkle on randomly:


Plonk the stencil (Hexagons by Imagination Crafts) on top:


Spritz:


And hey presto! (It doesn't seem to matter if you sprinkle first and put stencil on top or the other way round, lay down stencil and then sprinkle):


And don't forget to flip the stencil over:


And use up the ink on the other side:


Thanks for looking!

http://shop.paperartsy.co.uk/
Helen

Tuesday 12 April 2016

More Infusions....

I've carried on my experiments and this time I'm going to stamp into the PaperArtsy Infusions like this: sprinkle the colour onto matte card:


and rub in dry with fingers:


add in other colours (I tend to block the colour rather than mix it all up):


Then spritz your stamp with water:


and stamp into the dry Infusions  which will activate the powder:


For another technique, prep the card as before and ink up stamp with VersaMark/Embossing ink pad:


Stamp onto dry powder for a much more subtle effect:


If you try this technique on glossy card, you can rub in the powder, stamp with VersaMark and then quickly rub over with a baby wipe:


to give a beautiful background:


That's all for now, so thanks for looking!

Helen


Saturday 9 April 2016

PaperArtsy Infusions - the gift that keeps on giving!

I've been having a little go with this new product from PaperArtsy - Infusions - which, if not in a shop near you yet, very soon will be. They are ' water soluble particles with 2 components: dye colour pigment suitable for paper/ fabric mixed with Walnut stain.'
I've had a look at how to stamp with them with very interesting results.

First ink up pad with VersaMark/Embossing inkpad:


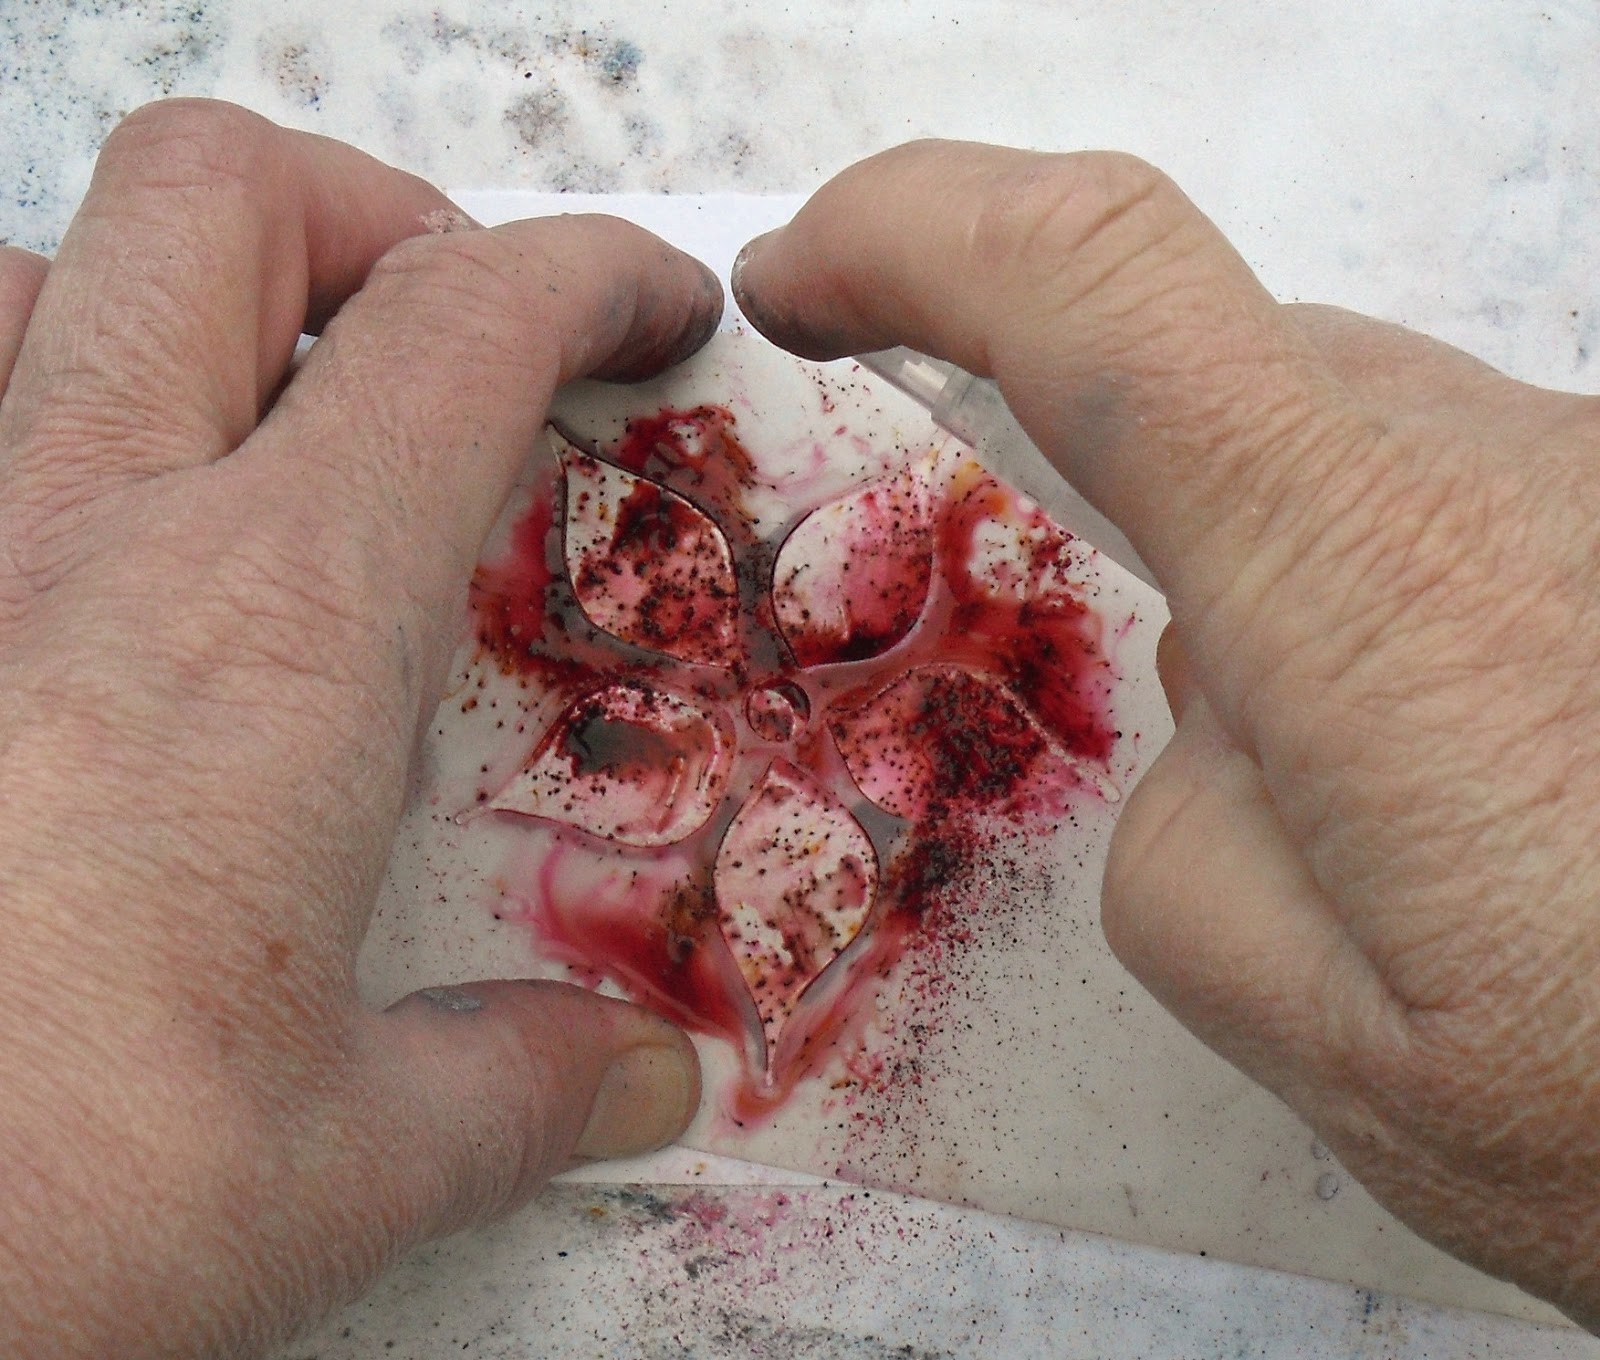
Then sprinkle on your chosen colours (I've only used one here, Sunset Beach, but you can use as many as you like):


Rub it in with your fingers:


Spritz with water:


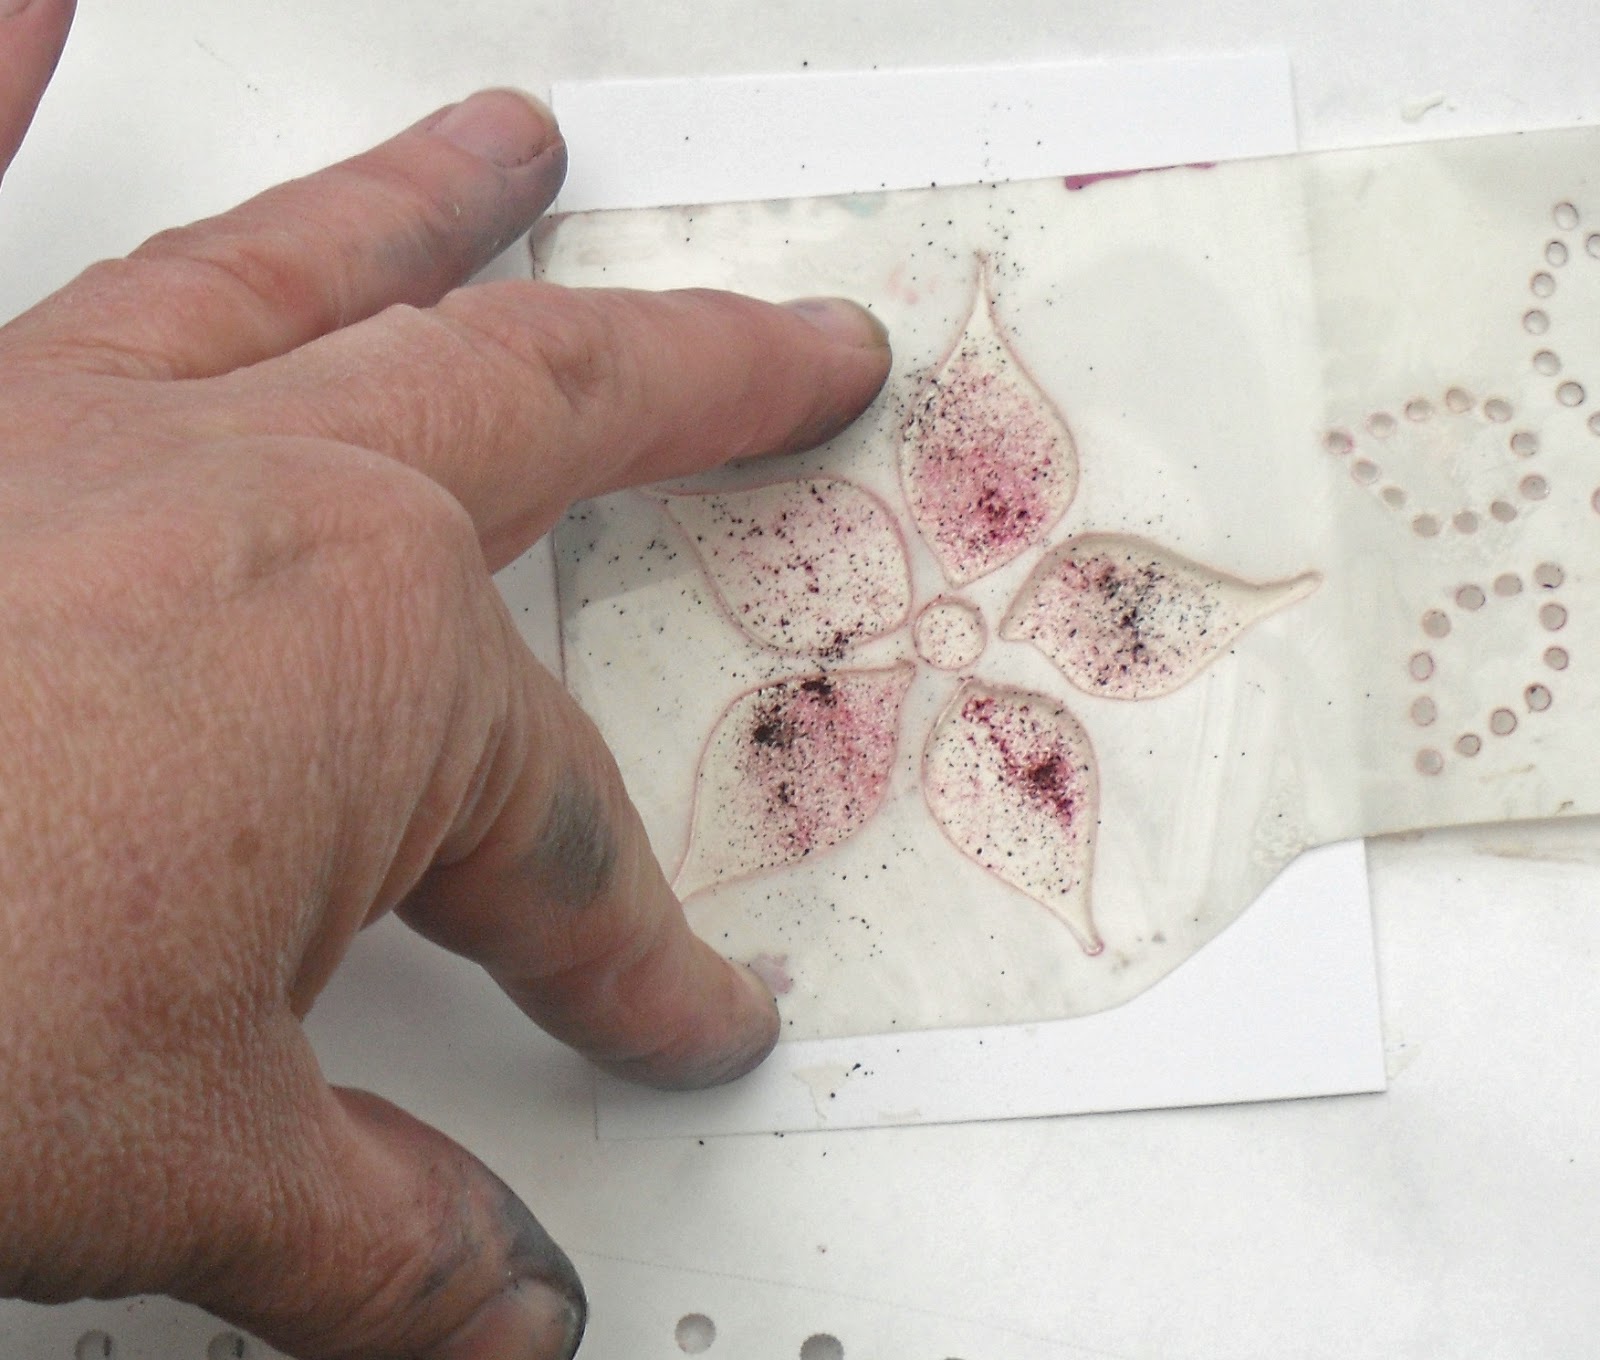
and stamp.The image will depend on how much water you've spritzed, but just look at the detail you can get:


Second stamped impression:


Then re-spritz and stamp once:


 and twice:

Re-spritz and stamp again - notice how the walnut stain is starting to take over from the red, that's because the walnut crystals take longer to react with the water::


Twice:


Re-spritz and stamp again - much less detail and browner in colour, but still great for backgrounds:


Re-spritz, (yep, it's still going!):


And  those were all with just one application of the Infusion colour!

What's even more amazing, clean stamp with a baby wipe:


and stamp again - it's still going!


This is just one small technique - I'll be posting others as I try them out.

Thanks for looking!

Helen