I was asked by Jean at Crafty Individuals if I could explain how I made this card in detail:

So here goes - I'm warning you this has lots of pics and is a warts and all explanation!
I used the following stamps CI-423 Build a Spring Flower Garden:

which is the latest grass/flower set. I stamped onto glossy white card and used the Kaleidacolor inkpad Vineyard (if you haven't got that you could always substitute Distress inkpads in similar colours).
Get everything ready including a piece of paper torn roughly to make a hill mask and a mask for the moon:

Lay down one half of the mask and brayer greens and brown:

Mask bottom hills and mask for top hill:


Using cotton wool, sponge grey/purple and green onto sky:

Sponge more colour onto other layers:

Define edges of hills using ink on a cotton bud:

Remove moon mask:


Take the larger stamp:

and, keeping to the purple colours, ink it up:
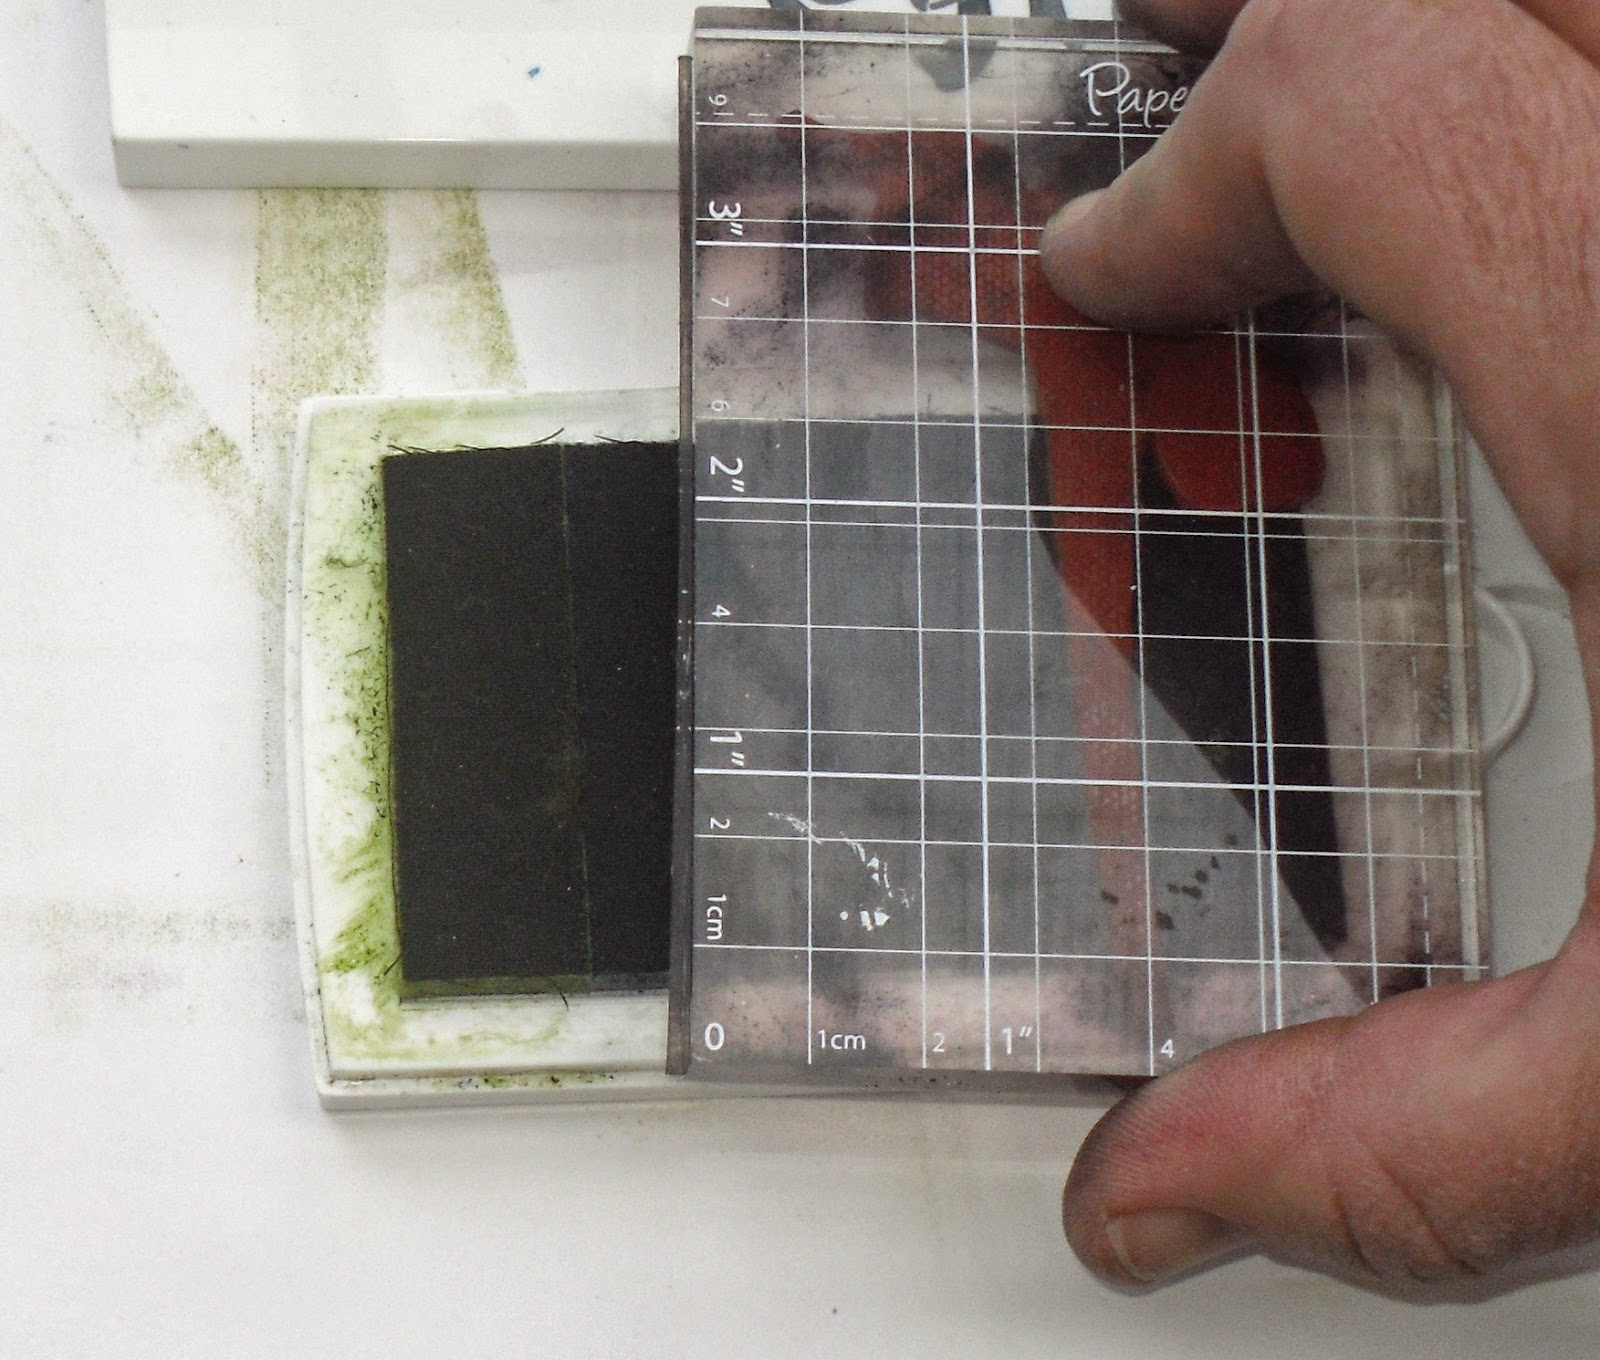
stamp a couple of times:

next add the bell stamp in purple:

add some more solid leaves in greens:

then some open leaves in the blue/green:

Don't forget the stems can be bent different ways to suit the collage:

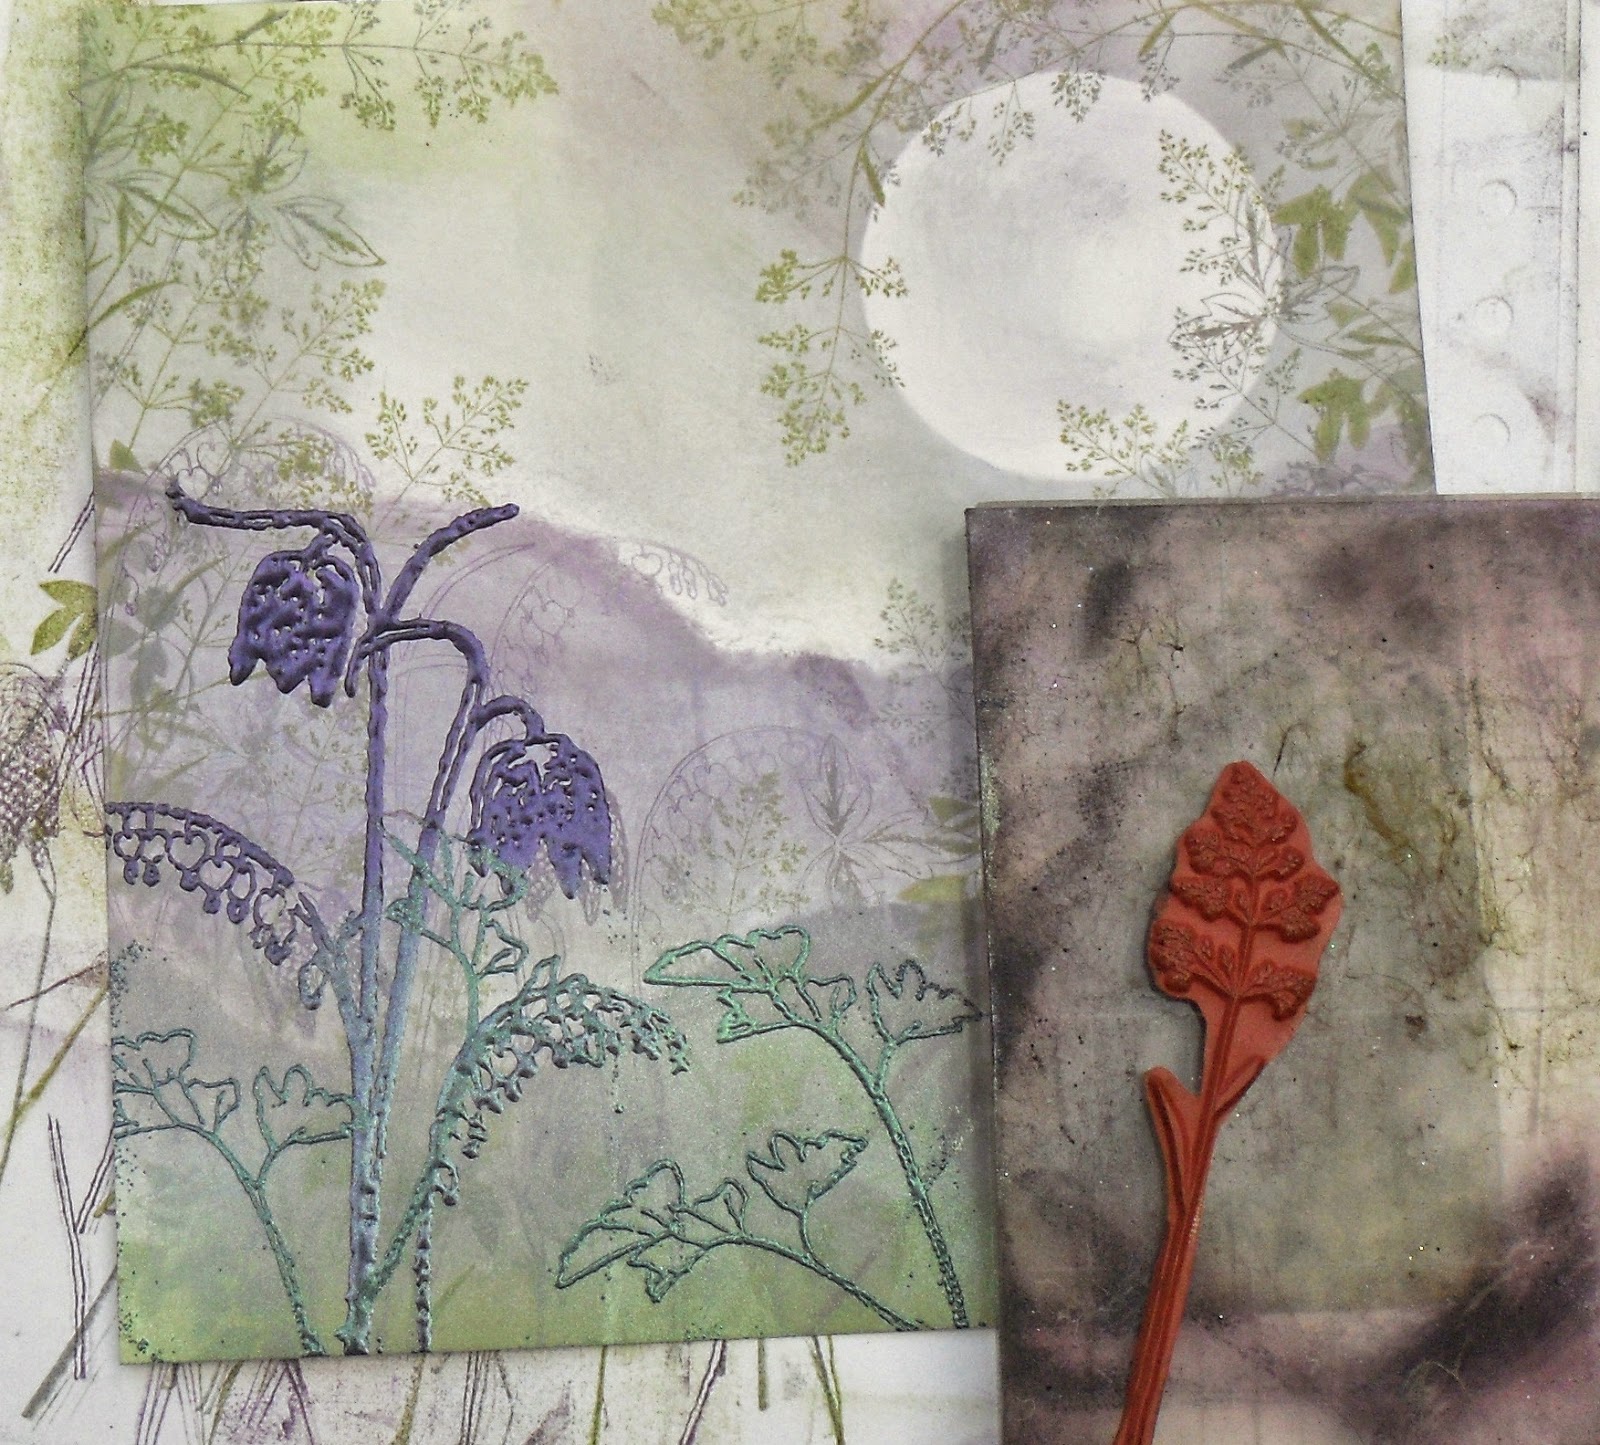
Then add in this open flower (don't know what it is!) in purple:

Then try not to swear as you realize you've got ink from the edge of the block onto your moon!


After that it's a case of adding some embossed flowers to act as a focal point. I've positioned them diagonally opposite the moon and have used some WOW embossing powders in similar colours to the background (Lapis Cobalt Aurura and Lilac Black):


And here is the finished card - well almost. The text is printed on the computer in Impact Label font and then just cut out and stuck on.

When I'm building up these flower pictures, I usually break down the sets roughly into the following:

The main images tend to be the larger/taller ones. the solid images are great for adding weight at the bottom of the picture.
Crafty Individuals have got lots of different sets of flowers/grasses that can all be built up in the same way. Once you get going it's very addictive!
Thanks for looking!
Helen
6 comments:
This is great Helen! Will pop a link on Facebook soon and direct folk to your blog for full explanation. Jean x
Thanks for that. I bought the stamp set last year because I loved the spring flowers and it was still virginal in my stash! But not any more although I haven't perfected the technique quite yet.
Gorgeous and a fab step by step too! xxx
Helen,
Thank you for your wonderful explanation of the journey making this card, and the card.. wow it's gorgeous!!
Thank you so much for the step by step, Helen. Had a chuckle at your stamping block mishap, I do this all the time too!
Brilliant Thank you for great instructions must have a go .
thank you jeanie
Post a Comment