I love the really detailed design with lots of elements to pick out, how you can use them with so many different media, the layers and depth you can create. In other words, I had a ball.
What added to my delight was that I got some of the new Infusion colours - yes, new Infusions! - to play with as well!
I decided to really go for it and use the Infusions for everything: stamping, stencilling, colouring, spritzing etc. I was really pleased with how much of the detail came out in the stamping.
If you go on over to the PaperArtsy Blog, you can see other lovely pieces of art made by Alison Bomber.
To start with, here are a couple of samples using the different sets:
'Heart to Heart' using LPC037

The costume he's wearing is just fantastic.

and here's another:

and here's another:
'House to House' using LPC036


and finally, here's a step by step project for you:
Profile Tag using LPC035


Step One: I inked the stamp with VersaMark (use a very old pad as it will get dirty) and then sprinkled on the Infusions - I tend to work in blocks of colour but you can mix them up if you like:
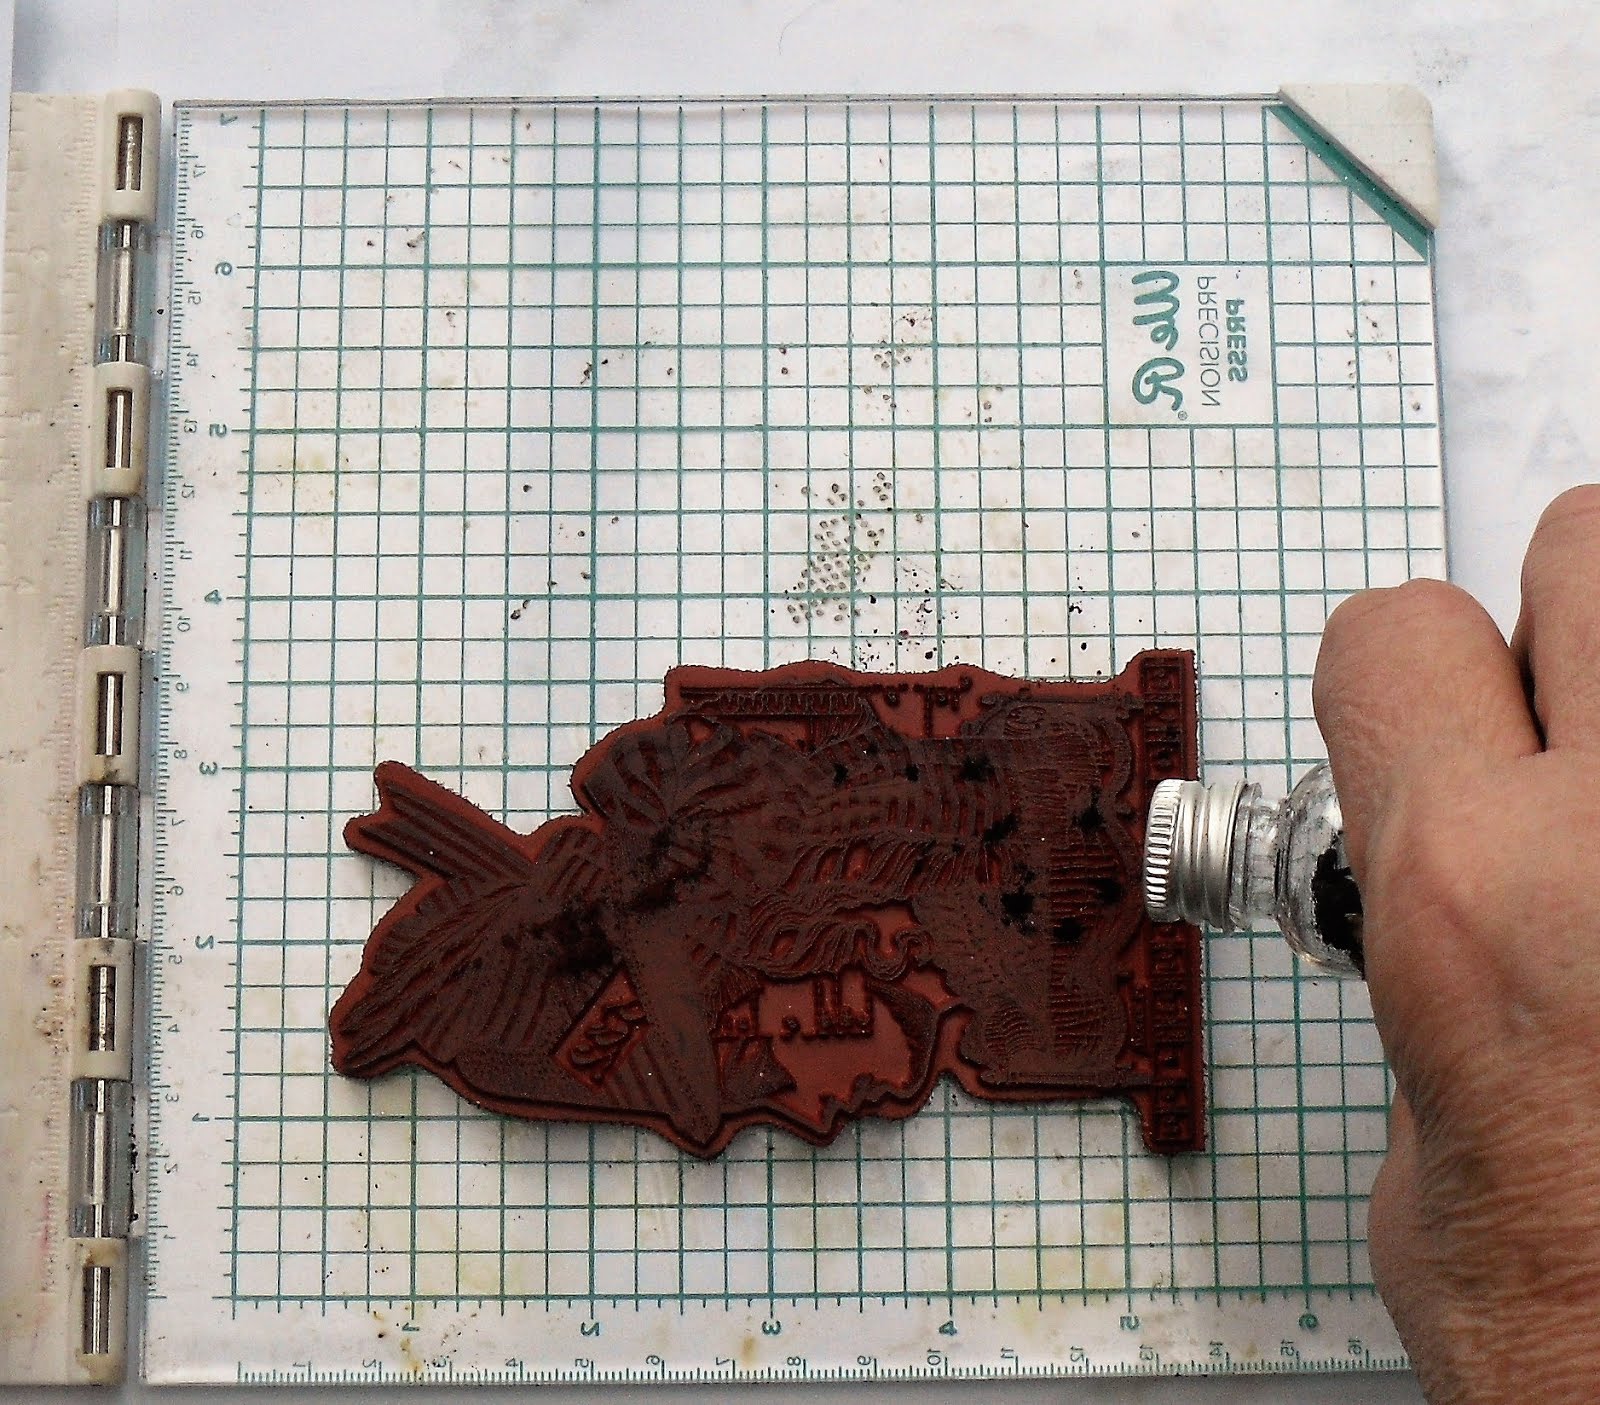
Step Two: Rub the dry powder over the stamp and into the versamark ink

Step Three: Spritz the stamp lightly and stamp it out onto white Smoothy card. The first image will often be very wet, just carry on stamping, spritzing every second or third impression.

To make this background, I stamped the smaller face from LPC35 repeatedly in Sleight Blue (a new Infusions colour that will be available in February). The more times you spritz, the more the walnut crystals show up.

To make this background, I stamped the smaller face from LPC35 repeatedly in Sleight Blue (a new Infusions colour that will be available in February). The more times you spritz, the more the walnut crystals show up.
Step Four: I then added a border in Violetta (another new Infusions colour) using the same rub and spritz technique along the lower edge of the larger stamp and letting it run into the Slate background

Step Five: Now for some fairly controlled stencilling with the Infusions. Rub dry Golden Sands powder through PaperArtsy stencil PS011 (a JoFY stencil)...

...and then activate with a wet baby wipe.

Step Six: For the focal image, I followed the same technique of rub, spritz with Golden Sands (hat) and Violetta (rest of stamp), spritz, stamp. You can see the result below left. Then added touches of grey Watering Can Archival Ink (my only use of an inkpad!) to the edges just to define the outline of the image. Stamped the image again for definition.


Step Seven: Finished off with a bit of braid and some clear Stickles

Here's a close up

Thanks for looking!
Helen
1 comment:
Hi Helen, this artwork really rocks. I love it! The backgrounds are amazing. The way you've used the Infusions on the stamps is something I'm going to have to try. Hugs,Pauline x
Post a Comment